Why bathrooms leak through floors
A bathroom leaks through the floor when the waterproofing membrane under the screed fails. That membrane stops shower water soaking into the slab, the walls and the ceiling below.
Over time it can crack, peel at the corners or get damaged during a renovation. Water then seeps through, often as a stain in the room below or a damp patch on the other side of the wall.
If you’re dealing with a bathroom leaking to the room below, you have two common fixes: PU injection and full re-waterproofing. The PU injection vs hacking bathroom waterproofing choice mostly comes down to how widespread the failure is.
We’ll compare how each one works, when injection falls short, what a flood test proves, and what to rule out before you pay anyone. This guide is part of the Roof Leaks and Waterproofing section.
The partner plumber we work with doesn’t publish prices for these jobs, so we haven’t quoted any here.
How PU injection works
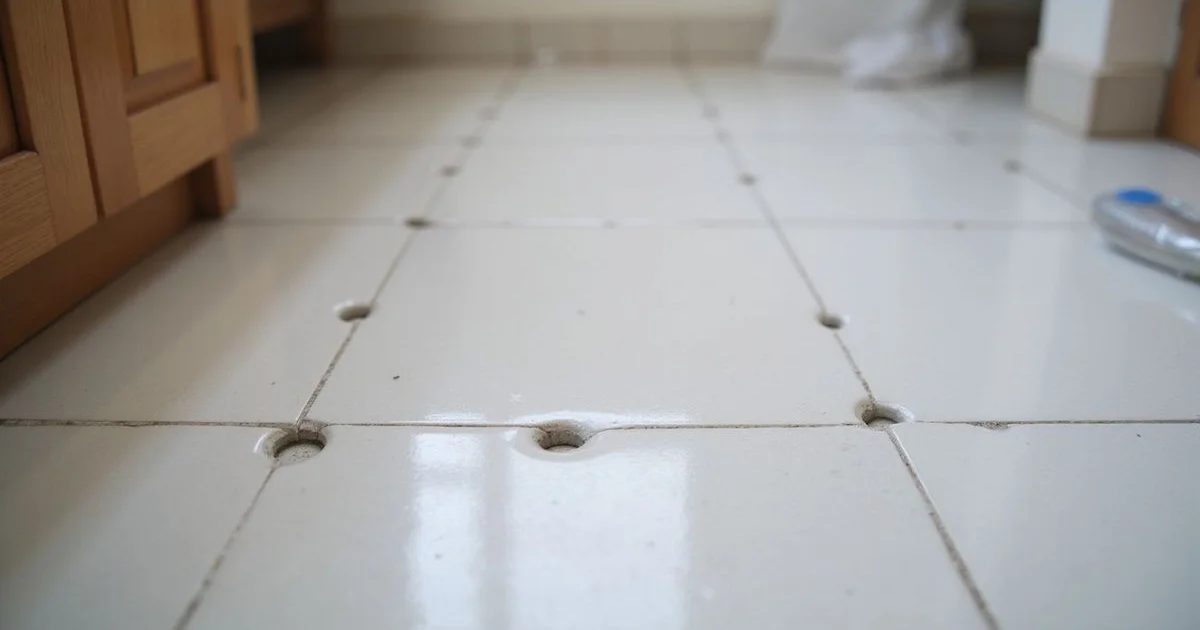
PU injection grouting is a targeted repair that seals a leak without removing the tiles. Small holes are drilled through grout lines or tiles near the leak, and a PU (polyurethane) resin is pumped in under pressure. The resin reacts with water, expands, fills the cracks and gaps, and sets into a seal. The holes are then filled.
Good for:
- Leaks from a specific spot, such as around a floor trap or a pipe entry
- Cracks in the screed or joints
- Situations where removing the tiles is not practical
Limits:
- Water may find another way through if the membrane has failed widely
- Results depend a lot on skill and correct placement
- It does not replace a membrane that is missing or broken across the floor
A good contractor traces the leak point before drilling a single hole. Ask how they found it. If the answer is a guess, expect a repeat visit.
How full re-waterproofing works
Full re-waterproofing replaces the whole failed system, which is why people call it “hacking”. It’s the more thorough option, and also the messier one.
- Hack out the floor tiles, and often the lower wall tiles.
- Remove the old screed where needed.
- Prepare the surface and fix any falls, so water runs to the floor trap.
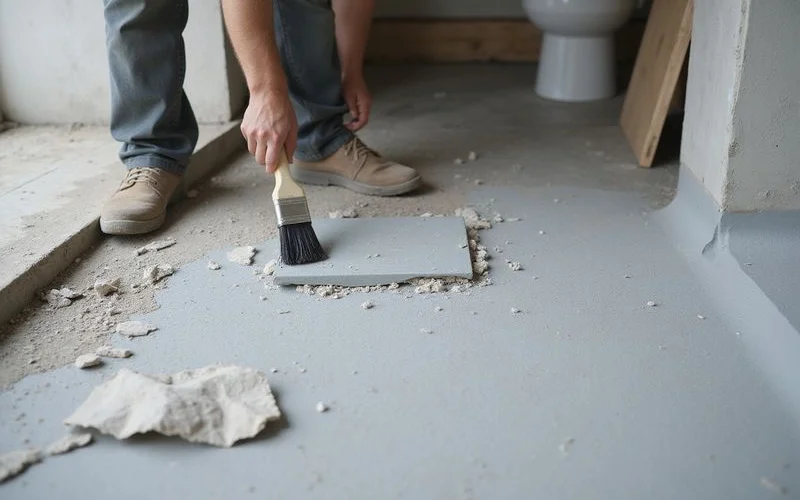
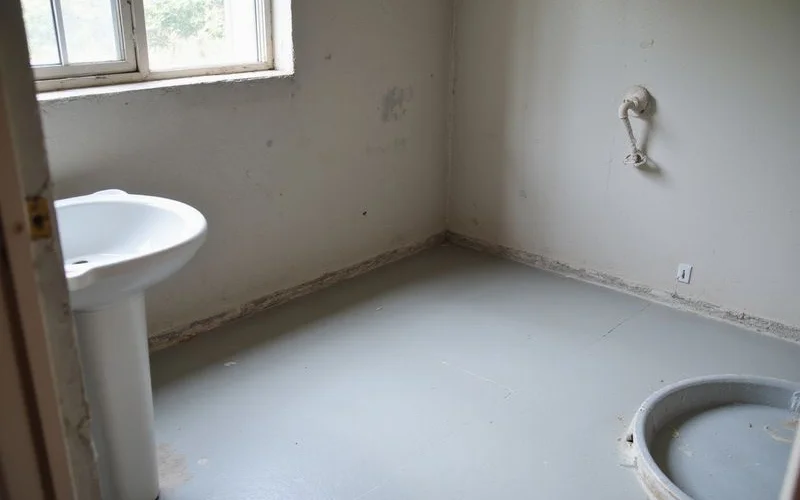
- Apply a new waterproofing membrane across the floor and up the walls, with extra layers at corners, the floor trap and pipe entries.
- Test, often by flooding the floor with water for a period and checking for leaks below.
- Lay new screed and tiles.
Good for: widespread failure, older bathrooms, or bathrooms being renovated anyway.
Limits: more disruption, longer time, higher cost.
The corners, the floor trap and the pipe entries are where membranes usually fail first. That’s why step 4 calls for extra layers there.
Durability and disruption compared
PU injection is quicker and cheaper but only suits a local leak. Full re-waterproofing lasts longer when done properly, but it costs you tiles, time and a working bathroom.
| Factor | PU injection | Full re-waterproofing |
|---|---|---|
| What it fixes | Localised leaks and cracks | The whole waterproofing layer |
| Tiles removed? | No, only small holes | Yes, floor and often lower walls |
| Bathroom out of use | Short | Several days or more |
| Durability | Can last for a local leak; less reliable for wide failure | Long-lasting if done properly |
| Cost | Lower | Higher |
| Best for | A single leak point | Old bathrooms, widespread failure, renovations |
If you have a second bathroom, the downtime matters less. If this is your only one, a short repair may be worth trying first, as long as the leak is clearly in one spot.
When injection is not enough
Injection is not enough when the failure is wider than one spot. Consider full re-waterproofing if:
- Injection has been tried and the leak came back or moved
- The bathroom is old and has never been re-waterproofed
- Several areas are damp, not one spot
- Tiles are loose or hollow across the floor
- You are renovating the bathroom anyway
A leak that moves is the clearest warning. It usually means water is finding a new path through a membrane that has failed more widely than the first repair covered.
Balconies and service yards
Yes, the same two fixes apply to balconies, service yards and flat roofs. Balconies are exposed to sun and rain, which ages membranes faster, and their drains often block with leaves and dust.
Before you treat a balcony leak as failed waterproofing, check the simple things first:
- Clear the balcony drain
- Check that water is not pooling against the door threshold
If water still gets through, the membrane or the joint where the floor meets the wall has probably failed. That’s the point to call a waterproofing contractor.
What a flood test shows
A flood test shows whether new waterproofing holds water before tiles cover it up. The floor trap is plugged, the floor is covered with a shallow layer of water, and it’s left for a period, often a day or more.
The ASTM D5957 guide for flood testing horizontal waterproofing points to at least 24 hours of regular monitoring. Someone then checks the ceiling below and the walls next door for any damp. If it stays dry, the membrane is working.
Ask whether your contractor will do one. Ask too whether you, or whoever lives below, can check during the test.
Check the plumbing first
Not every bathroom leak is waterproofing, so rule out the pipes before you pay for either fix. Check for:
- A leaking toilet seal at the base, covered in Water Leaking at the Base of the Toilet
- A leaking supply or hot water pipe in the wall
- A leaking waste pipe or floor trap connection
- A leaking shower mixer
A meter test helps rule out supply pipes. Turn off every tap, then watch your water meter. If it keeps moving, water is escaping somewhere in the supply line.
Our guide Roof Leak or Pipe Leak? explains how to narrow down the source.
Condo units: the unit below
In a condo, a leaking bathroom usually shows up in the ceiling of the unit below, and the Strata Management Act 2013 sets out who handles it. Inter-floor leaks fall under the Act and its 2015 regulations. Building management inspects and issues a Certificate of Inspection (Form 28) naming the cause and the party responsible.
Two details help if you’re the one dealing with a leak:
- Under Section 142 of the Act, a ceiling leak is presumed to come from the unit above unless proven otherwise.
- The responsible party must start rectifying within seven days of receiving Form 28.
Read the Condo and Strata Leaks section and the guide to the Form 28 process. Check house rules before booking hacking work.
If your landed house isn’t strata titled, this process doesn’t apply. In that case, talk to your neighbour directly and share the flood test result or plumber’s report.
Questions to ask a contractor
Good contractors answer these without fuss. Vague answers are a signal to get a second quote.
- How did you confirm the leak is waterproofing and not a pipe?
- Do you recommend injection or full re-waterproofing, and why?
- What membrane product and how many layers?
- Will you do a flood test before tiling?
- What warranty do you give, and what does it cover?
- How long will the bathroom be out of use?
Get the warranty and the flood test result in writing. You’ll want both if the leak returns.
When to call a plumber
Call a plumber first if you’re not sure the leak is waterproofing. They can rule out pipes, toilet seals and the floor trap before you commit to PU injection vs hacking bathroom waterproofing.
Once a plumbing leak has been ruled out, call a waterproofing contractor. Use the questions above to compare quotes, and ask for a flood test either way.
If the leak affects a neighbour in a condo, involve building management early. Start today by checking the drain, the meter and the ceiling below, then book the right person for the job.